
"Learn the rules like a pro,
so you can break them like an artist."
-att. Pablo Picasso
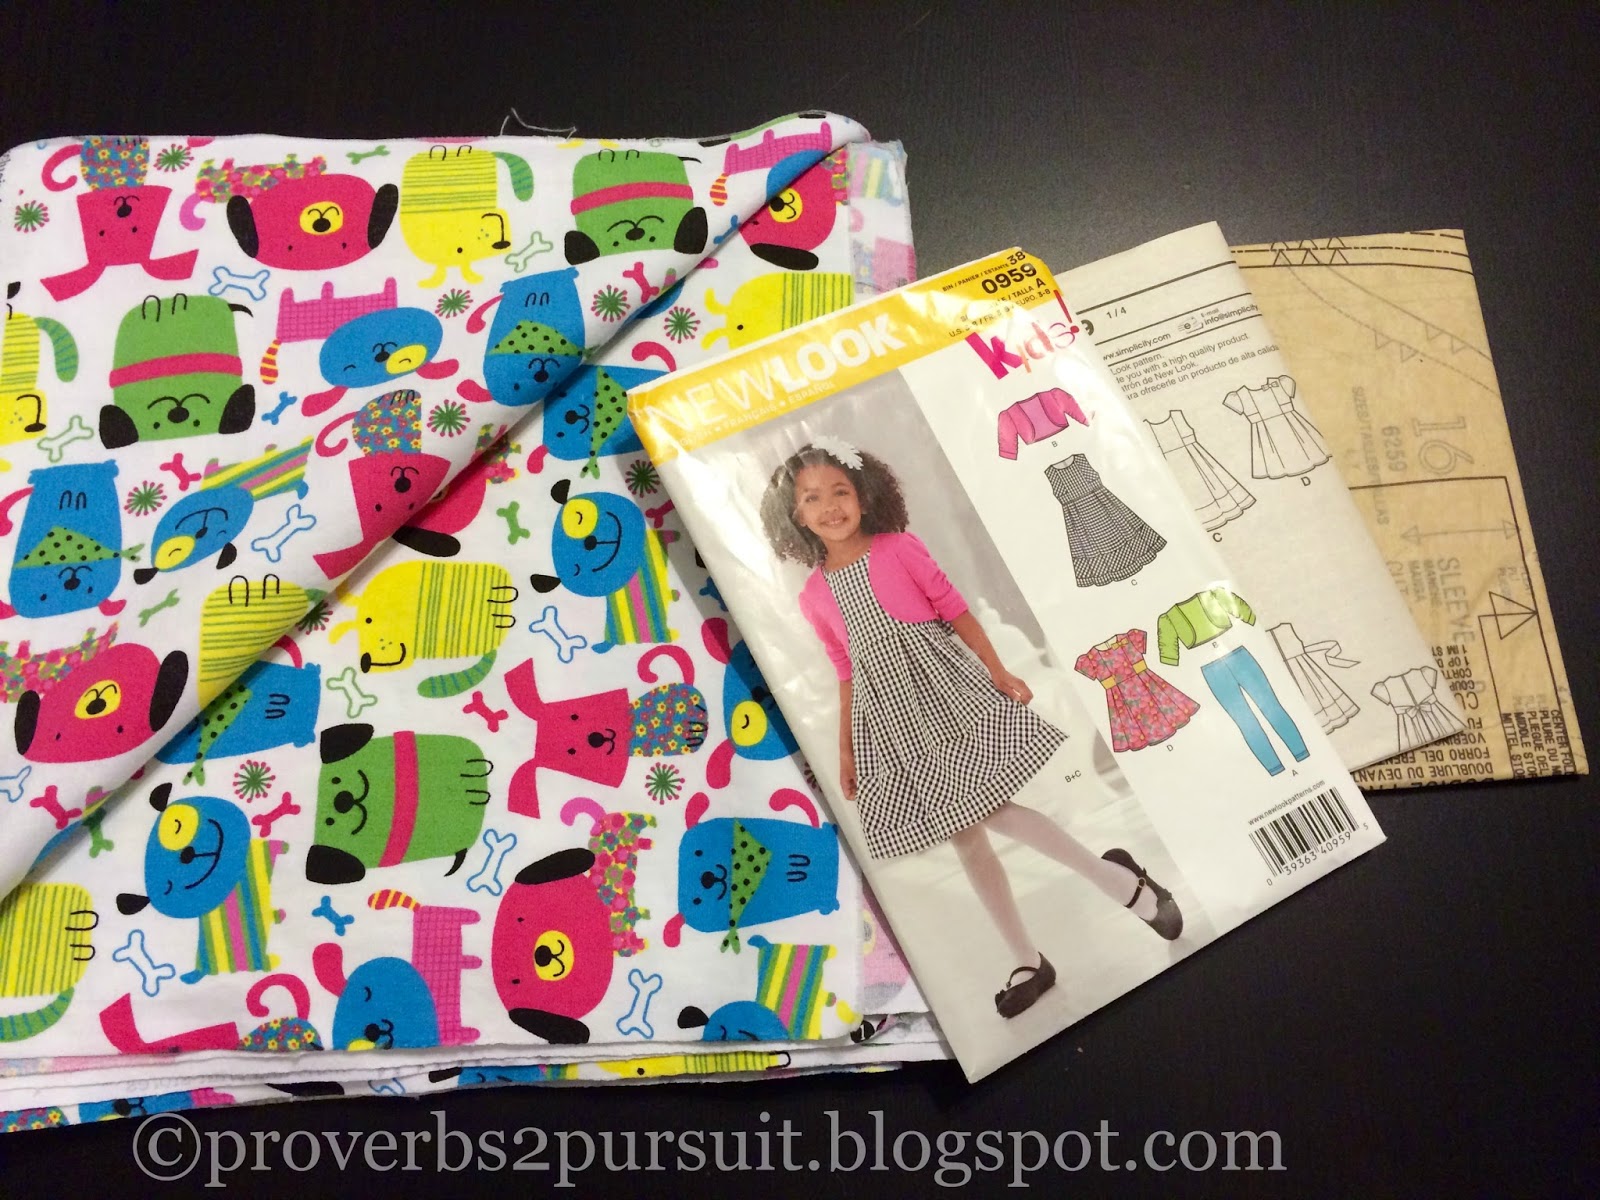
A few weeks ago, when I was going through some of my previous pattern purchases (yay $1.99 sales) to see which project I wanted to start first once SC was back at school full time, I realized I had a few patterns which she is at the top size, and just barely even that. Unfortunately, I also have fabric for some of these patterns that I had already purchased, and needing to size up would mean I didn't have enough fabric to complete the project. Of course I could always just add that fabric back into my stash for something else, but just look at that super cute puppy fabric. I decided a new dress for the first week of school would be project number one.
2015/16 Project #1:
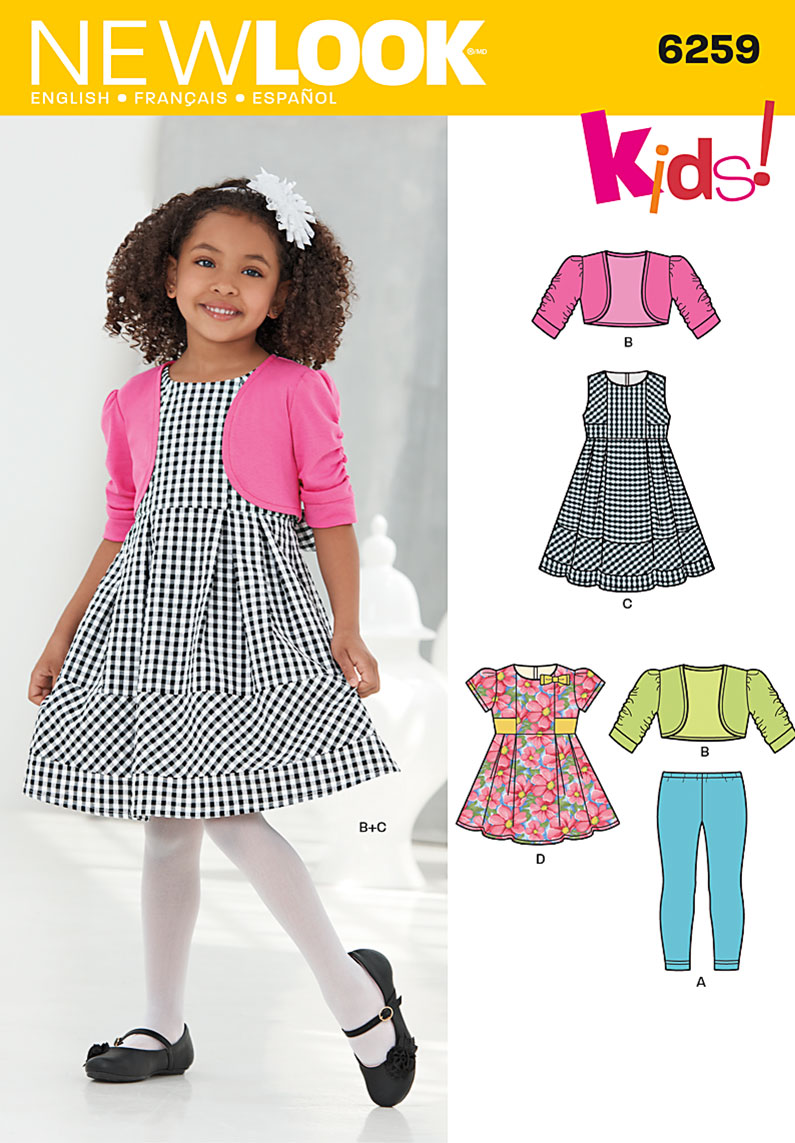

For this project, I used view C, a sleeveless dress with the longer skirt. This pattern has an interesting design, in which the the front side panels and middle skirt band are cut on the bias. In the example, a check fabric was chosen, so it is very easy to see the bias design. Here is a close-up of the front panels.

In my puppy fabric, there is a very specific one-way design. I bought extra fabric in order to match this design; however, I did not buy enough fabric. The middle skirt band being cut on the bias took up an enormous amount of space when cutting the fabric (see the bottom picture below), and I couldn't follow the placement suggestion because then the puppies would not be going in the same direction all the way around the skirt band. I ended up with the bottom band having to be cut completely upside down in order to cram it onto the fabric with the curve! Luckily, the puppies still look cute, and it works because the bias-cut puppies are tumbling. I also cut the lining pieces upside-down because it fit better that way.

The pattern adds fullness with inverted box pleats (my favorite kind to make), four on the front and then four on the back.

The pieces fit together perfectly, with only minimal attention to matching up seams and corners needed. The instructions were simple and made sense. The only part of the instructions I was unsure of was that it called for hemming the lower band before attaching it to the dress. However, I did it that way anyhow, and now I think that the bulk of the dress and the skirt already being attached would have hampered creating a straight, smooth hem.

I struggled a bit with the zipper, but that is because I need to practice zippers more. I opted for an invisible zipper because I like the look of them more, but I either need to find a source for invisible zippers that offers something other than the typical Coats & Clark brand (which require a special zipper foot made by C&C, and I don't have one), or find that special zipper foot. My own machine's zipper foot is just a few millimeter off, causing my stitching to be either too far from the zipper teeth, or directly on top of the zipper teeth. Also, somehow in all of the drama trying to get it in, the back of the dress now doesn't line up perfectly, but it is so tiny that I am probably the only one who will notice.

Here is a close-up of the bow at the back, which went together perfectly, and is just the right size for this dress.

Finally, here is SC modeling her new dress before school today! The fit is perfect (I cut a size 8), with no changes needed, even though originally I wasn't sure there would be quite enough room in the bodice.

I hope to make view A & B, the bolero and leggings, next week as projects #2 & #3, so she can wear them along with the dress as (fingers-crossed!) the weather eventually turns a bit cooler.
No comments:
Post a Comment